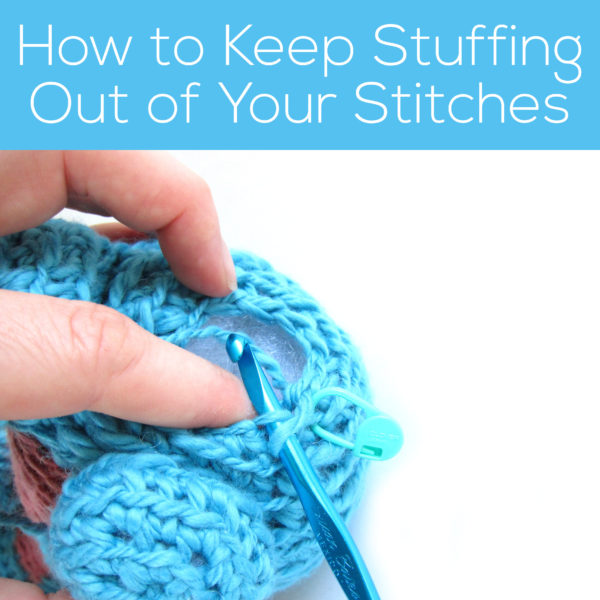
Today, I’ll show you two ways to keep stuffing out of those final stitches of your dragon bottom.
Use your non-dominant hand
The easiest way to keep stuffing out of your stitches for the last few rounds is to use the index finger of your non-hook-holding hand to push the stuffing out of the way of your hook as you crochet. You don’t need any extra tools, but it can make the final rounds slow-going.
Insert a piece of white felt
Another way to keep stuffing out of the way of your stitches is to cut a circle of white felt, and insert it into your work. I tuck the felt circle in at around the 3rd-to-last round. The felt will hold the stuffing on the inside, giving you a clear path to crocheting those last rounds!
Which is your fave?
It doesn’t matter which technique you choose… as long as it works for you!
Today, I’m going to talk about an instruction that can be confusing the first time you see it. Rotate your piece to work the bottom of the foundation chain.
What does that mean? I’ll show you both in photos and in video how to do it! It’s a great technique for achieving an oval shape in your crochet work (what I’m showing in this demo) but you’ll find it in lots of other irregular shapes as well.
Crocheting into the both sides of a foundation chain lets you create all kinds of shapes!
Photo Tutorial
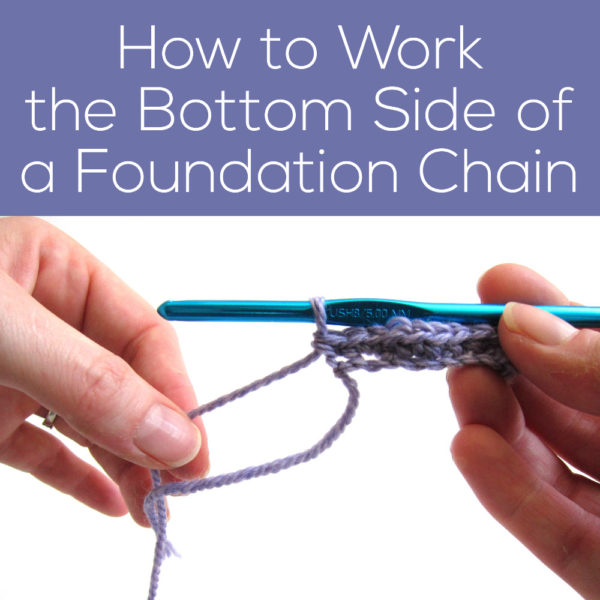
Okay, so you’ve crocheted your first row, and your piece looks like this:
Now, you encounter the instruction to ‘work the bottom of the foundation chain’. What does that mean? First, rotate the piece 180 degrees clockwise so that the row you just crocheted is on the bottom:
Now, crochet along the bottom loops of the foundation row (working from right to left), just as if you were working a regular row!
Once you’ve finished the row, you’ll have a lovely oval piece!
Want to learn how to make adorable crocheted stuffed animals with an easy online workshop – totally free?
Sign up for Let’s Make Amigurumi here. You’ll learn how to get started, the tools and supplies you’ll need, and how to make an easy amigurumi from start to finish using simple crochet stitches.
It’s a fun, inexpensive, and totally portable craft. You can do it!
Before I start chatting about today’s tip, I want to thank everyone for making the FreshStitches Celebration Sale such a success! Deals were had far and wide… and the most popular pattern snagged was… you guessed it! The Choose Your Own Dragon Adventure pattern! Looks like we might have some more folks joining in on the CAL… yay!
Have you done that, yet? Good! Now, we can’t just leave it like that for two reasons. One, the stranding prevents the fabric on the tummy from stretching when you stuff the body, so you won’t get a nice, plush look. Two, the looseness of the stranding has probably left you with some goosey looking color changes:
Look familiar? We’d like those to look a little neater. So, what we’re going to do is cut the strands down the center:
Now you can see why it was important to make those strands at least 3″ long, right?
For the next step, we’re going to tie together (using a simple square not) each color-change pair: one MC tail and one CC tail:
When you’ve tied off all of the tails, the inside of your dragon will look like this:
This dragon sports a differently colored tummy, which may seem hard, but is actually quite easy once I show you some helpful tips. There are two important pieces to getting a nice looking tummy:
Changing colors cleanly so that you have a nice edge along the sides of the tummy.
Managing the not-in-use color of yarn so that you don’t end up with a mess.
I’ll show you how to do both today, so that you can finish crocheting your dragon’s body! On Thursday, I’ll show you a third part, how to snip and knot the ends so that you can stuff your dragon nicely.
Do you want to know how to change colors?
Of course you do!
So, I made this little video of me doing the first color change: (click on the square icon in the lower right corner of the video to view it in full screen)
Not so hard, is it?
How to carry your yarn
There are lots of ways to manage your yarn when you’re doing color changes, but the technique I’m going to recommend is stranding your yarn, and then cutting and knotting it. The advantage to this technique is that it’s comfortable for crocheting (i.e., you aren’t interrupted by cutting the yarn twice every round) and it achieves the desired look.
If you’ve crocheted Nelson the owl, then you’re probably familiar with the technique. But, I’m going to review it, here… because the dragon adds in some complicating factors!
When you get to a color change, you want to carry the unused color of yarn along the back. But, since we’re going to cut this yarn later on… you need to make sure you have at least 3″ carried along the back. See how loose my pink strand is?
If you pull the yarn tightly, you won’t have enough yarn to cut and tie the ends, later!
So, keep doing this (carrying the unused color of yarn across the back of the work) every color change. You’ll start to get lots of strands:
By the end… you’ll have a lot!
In this post I show you how to snip & tie off these ends – including why you don’t want to just leave them as is!
Frequently asked questions
My stitches on the edges look very loose and icky. What did I do wrong?
Nothing went wrong! That’s normal. It’s just because we’re doing the strands so loosely… we’ll clean them all up tomorrow!
The dragon’s tummy looks crooked, what gives?
When you work in the round, the crochet stitches always bias a little bit to the right (if you’re right-handed). This actually happens all the time, but you don’t really notice until there’s a color change to show it off. There are some ways to fix it, but honestly, they’re a bit of a pain. I like to think of the curving tummy as a feature… it gives the dragon some sassy character!
This color change thing is really annoying.
That’s not a question! Anyway, yeah, I know. There’s no shame in crocheting the dragon’s body all in one color, and skipping the color changes. In fact, I’ve already spotted some finished dragons in our Ravelry group that did just that… and they look fantastic! Your crochet shouldn’t annoy you – do what works for you!
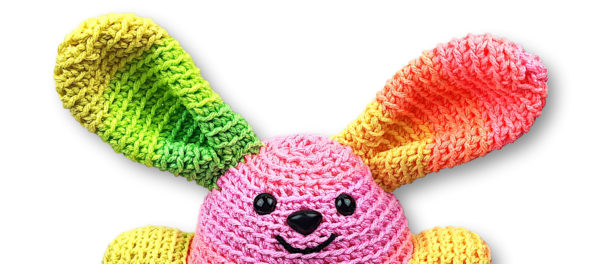
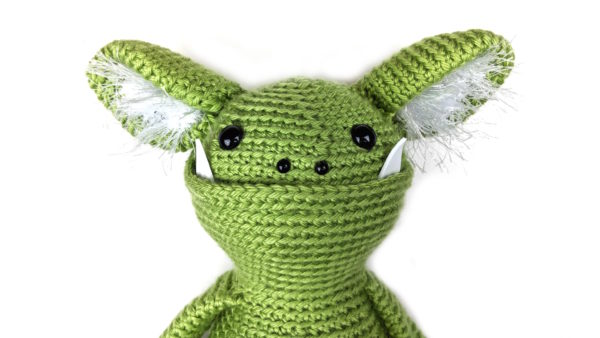
I also really like ears that fold from the side into the center. You can see both sides folded to the center here on Boone Bunny. . .
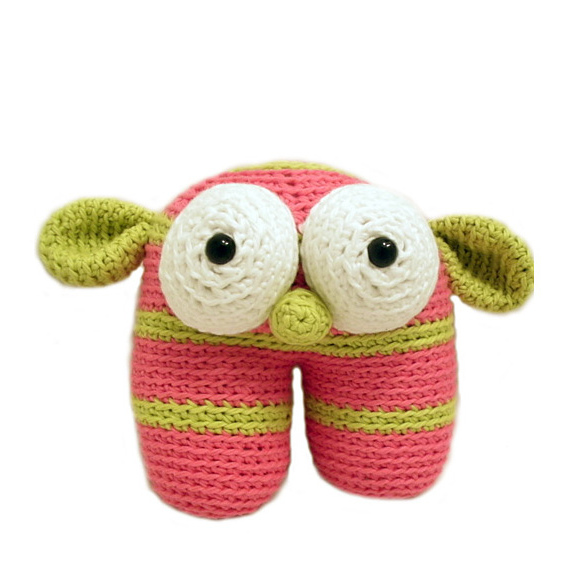
. . . and also just one side folded in to the center on this Maxwell Monster.
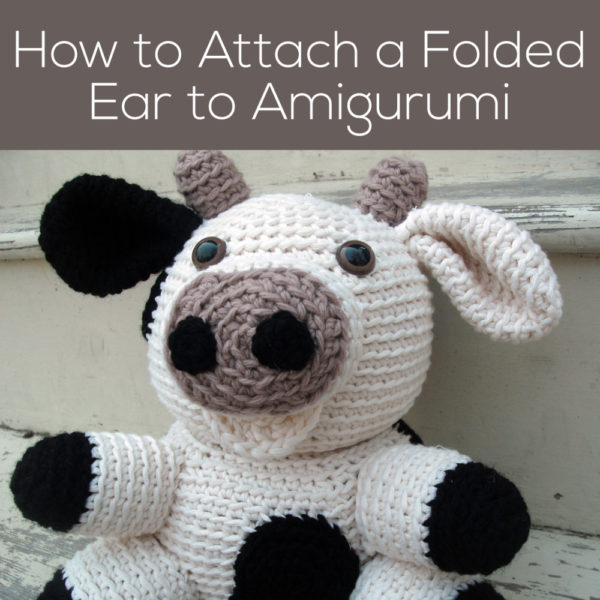
However you decide to do it, folded ear is a great technique. It looks complicated, but it’s all about the attaching.
Okay, let’s assume that you’ve crocheted the ear as instructed.
Whipstitch the opening of the ear closed
Press the opening of the ear flat, and using the long tail and a tapestry needle, whipstitch the opening closed. I stitch through one stitch on the top of the opening, then one stitch on the bottom of the opening, until I’m the whole way across.
It’ll look like this when you’re finished.
Don’t cut the tail… you’re still going to use it!
Fold the ear
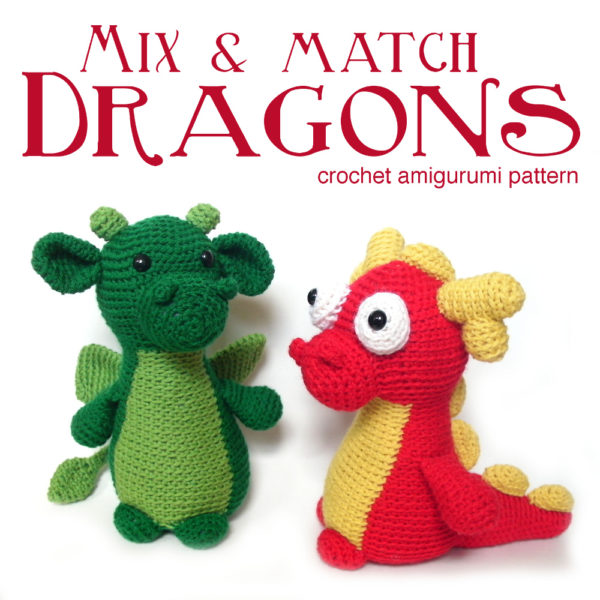
Just like it sounds! Fold the ear however the pattern, along the edge you just whipstitched. This is an ear from the Mix & Match Dragon pattern and I’m folding it in half.
Remember that tail you have? It should be on one corner of the ear. I like to run the tail (with tapestry needle) through the other corner, so that the fold stays closed.
Attach the ear to the head
Now, just attach the folded ear to the head using whipstitches all around. Take one stitch in the ear, then one in the head. Repeat, working your way all the way around the base of the ear.
One of the trickiest parts of crocheting this dragon is positioning his snout so that it lines up with the color changes on his tummy… since there’s a temptation to attach the snout before you’ve crocheted the color changes on the body. How do you know where to put it?
I have three possible solutions… and I’ll tell them all to you, since different ones might work for different people.
Option 1: Attach the snout after crocheting the color changes on the body
This is my favorite option. If you look closely at the progress photos in the pattern, you might be able to spot that this is what I did when crocheting the original sample:
The downside to this technique is that you’ll need to squeeze your hand into the tiny neck. However, you only need to get inside the head for tying the knot to secure the snout… since the rest of the attaching is done from the outside.
The advantage of this method is that you’ll know exactly where to position the snout, since you’ll be able to see the color changes. Also, I find the crocheting of the body easier without lots of heavy head features attached… but that might just be me!
Option 2: Visualize the color changes
I’ll be honest: this blog post was going to be about how to use your locking stitch marker to mark the end of round and visualize where the color changes would be so that you can attach your snout properly.
I took all of the nice step-by-step photos…
And then I realized that I visualized the color changes as being on the wrong side! Gah!
So, here’s the theory: the color changes for the tummy happen on the first 1/3 of the stitches after the end of round marker. If you’re good at spatial orientation, then it’ll be a snap for you to look at the stitch marker and picture where the snout should go.
But if you’re not… well, this option is going to be frustrating. Move onto option 3 (which is what I ended up doing to fix the photo-shoot!)
Option 3: Move the end of round
For the spatially-challenged (like me), this option is by far the easiest!
Attach all of the features to the head. Your end of round marker (the point where your round begins/ends) could be anywhere… it doesn’t matter. You’re going to move it!
Once you have the head attached, continue crocheting until you get to the round with the color changes. Instead of changing colors where you are (which may be at the back of his body), keep crocheting with the main color until you’re up to the snout.
Move your marker, and that’s you’re new start of the round! Continue following the pattern like nothing happened. In the grand scheme of things, the extra 10 or so stitches you’ve added won’t matter… and your tummy will be in the right place!
Do what works for you!
One of these options will work for you (sorry, I can’t tell you which one will be your favorite)! Hopefully, attaching the snout in the right place (after reading this post) will be no problem!
One of the most exciting parts of starting a project is picking out your yarn colors, right? Even though the pattern shows the item made up in a sample color (or maybe even a range of sample colors), you don’t have to follow the pattern!
Today, we’ll pick out some amazing colors for our dragons as we crochet-a-long!
Raid your stash
Selecting yarns for a project is a balancing act… you want to come up with a great color combination, but also use up yarns that you have in your stash, if you can!
If using up yarn that you already have is one of your goals for this project… then you’re going to have to drag your yarn out and look at it! If you’ve cataloged your yarn using Ravelry’s Stash Feature, then you can look at all of your yarn virtually, and not make a big mess on your living room floor.
Now that you know what you’re working with, you can plan your colors! The Choose Your Own Adventure pattern that we’re using only calls for 2 colors… but you don’t need to follow those rules! Do you want different colored wings? (or, do you want to use up a tiny ball of yarn?) Then go for it!
Here are some color palettes that I’ve put together that I think would make fabulous dragons:
Sometimes (when you’re trying to use up stash yarn), you might find that you have a fabulous color palette in mind, but need to buy a skein of yarn to make it all work… and that’s okay! If you’re buying the yarn for your project all at once, you might find it helpful to stick to one line of yarn: colors for a line are often developed so that they coordinate well together!
So, what’s your palette?
I’ve decided to go with using 3 colors: blue, pink and purple. Here’s my sketch:
What’s your combo?
If you’re not crocheting along with us yet, it’s not too late to start! Click here for details on the crochet-a-long. All month long, I’ll be posting helpful tips on how to crochet your dragon, so if you’re feeling a little nervous about crocheting an animal, this is a great time to get lots of help & support!