Let’s talk about hair!

doll crochet a long

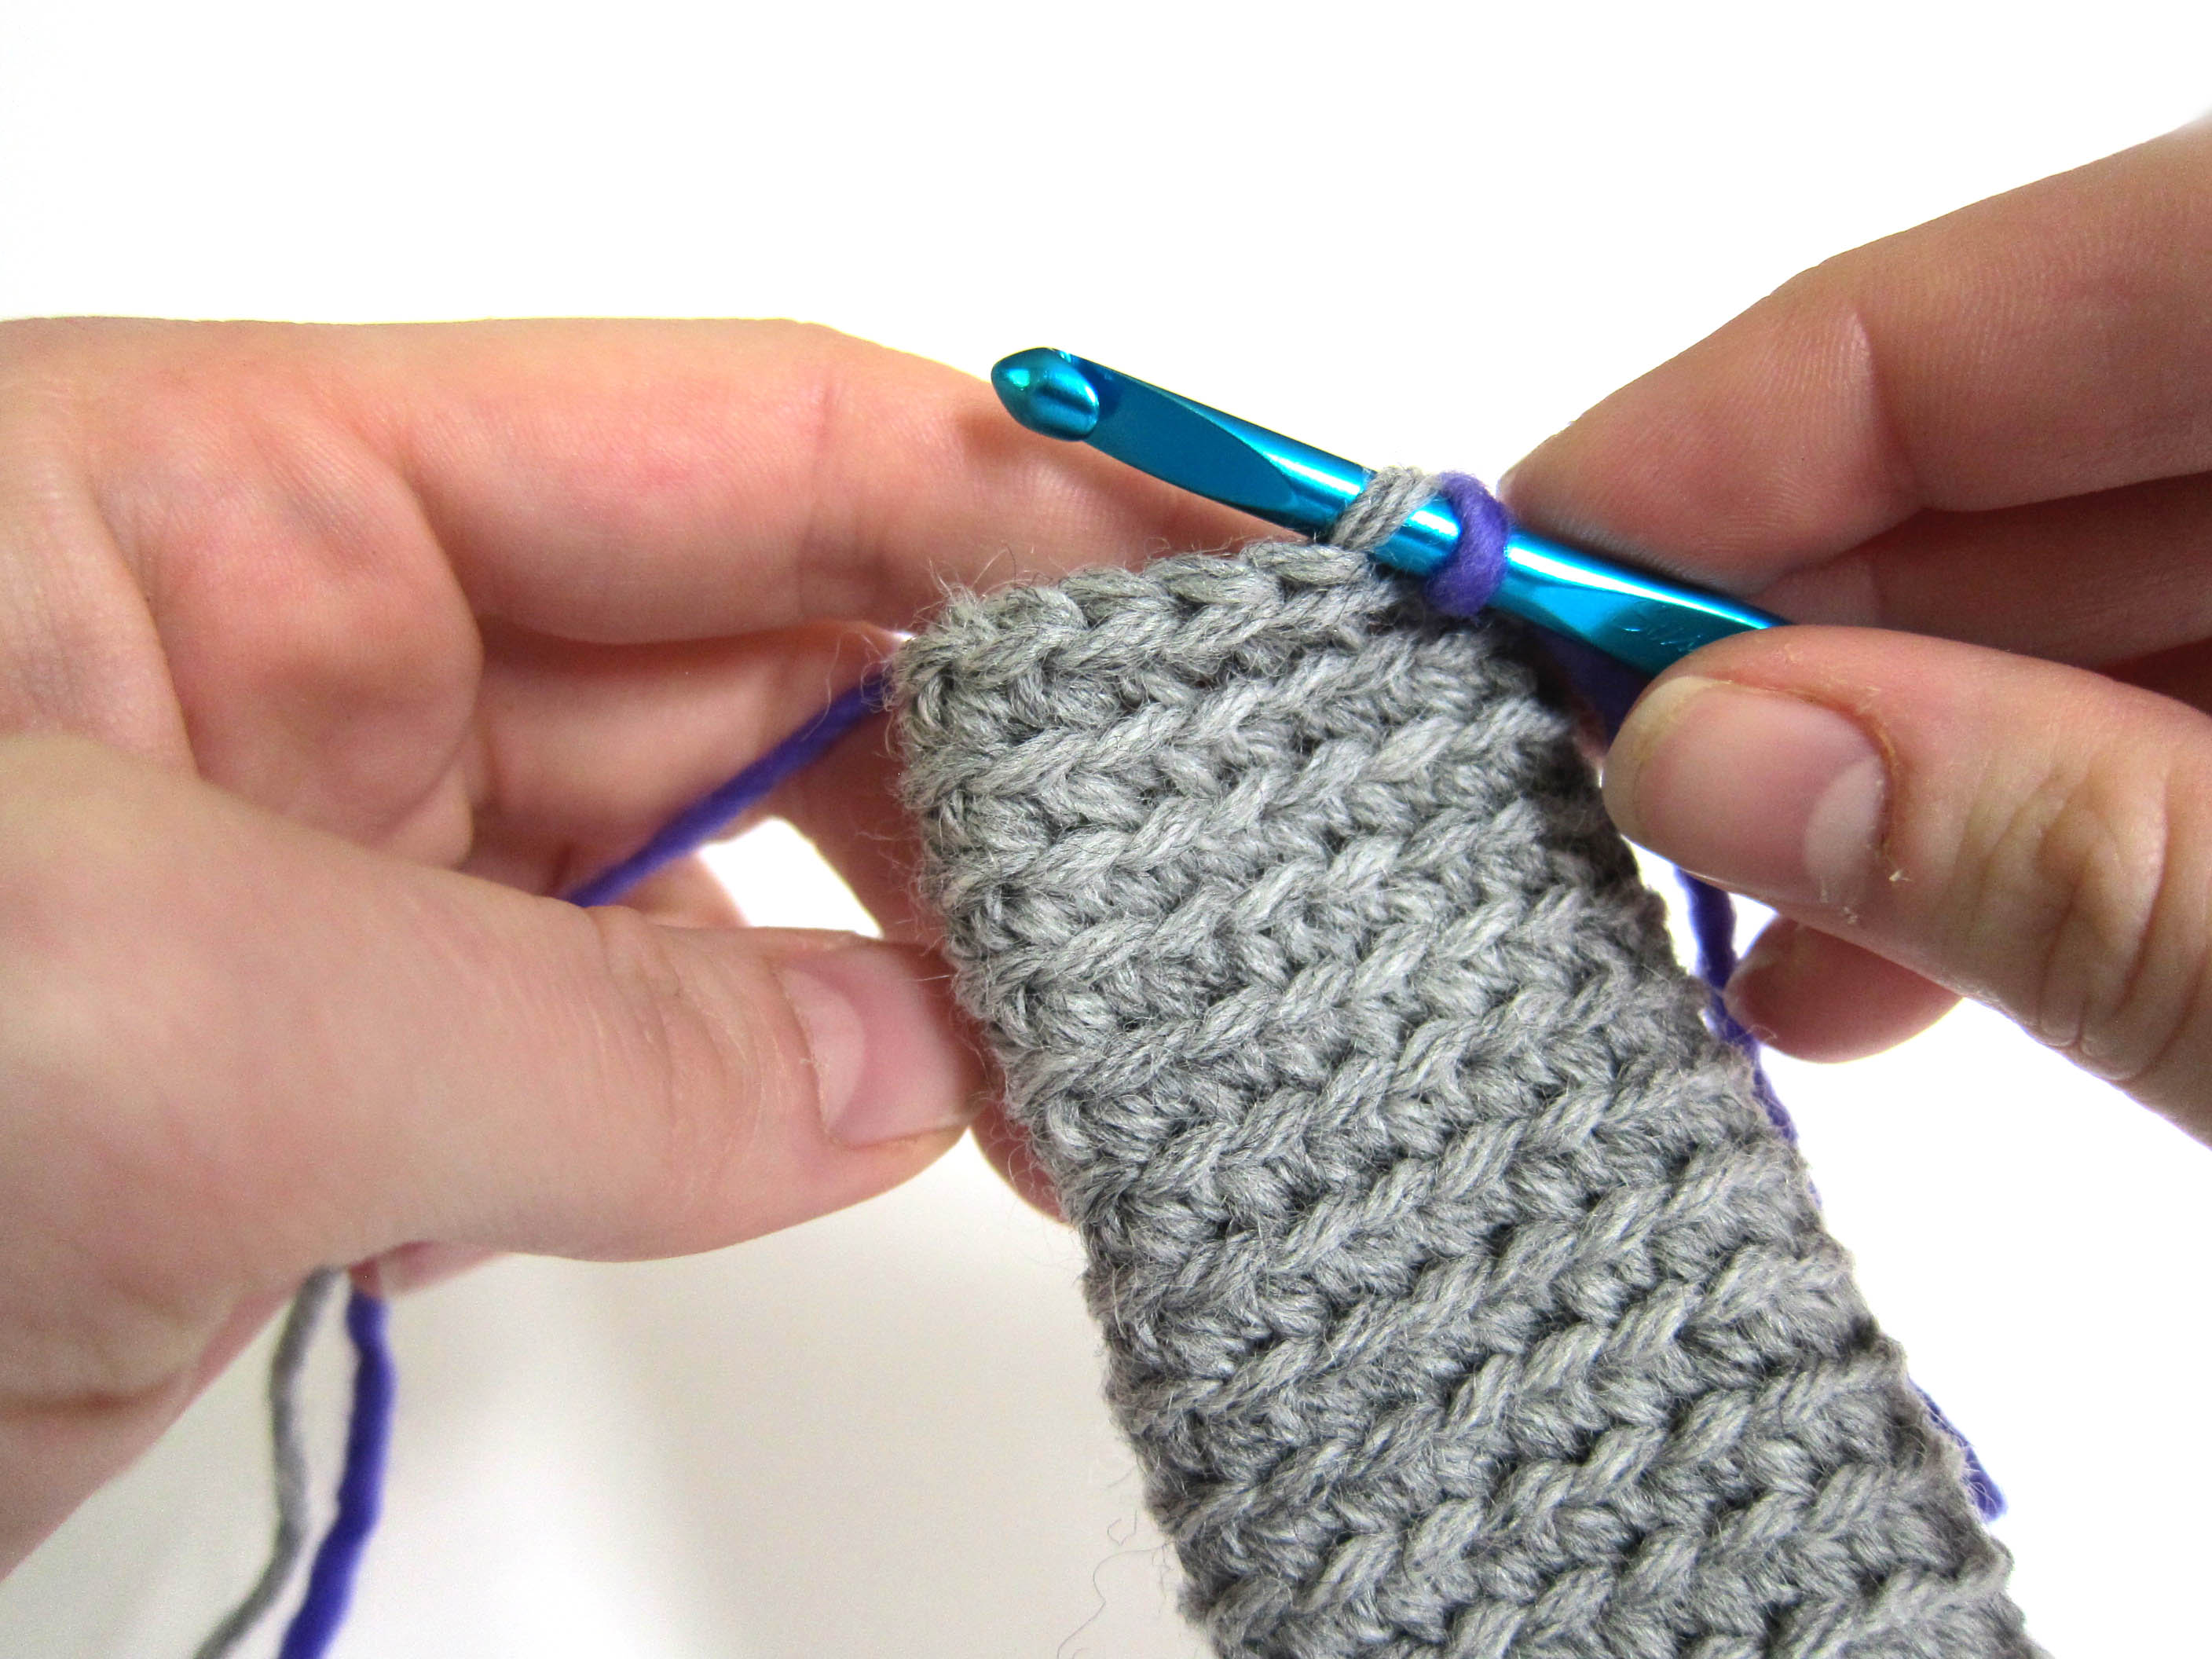
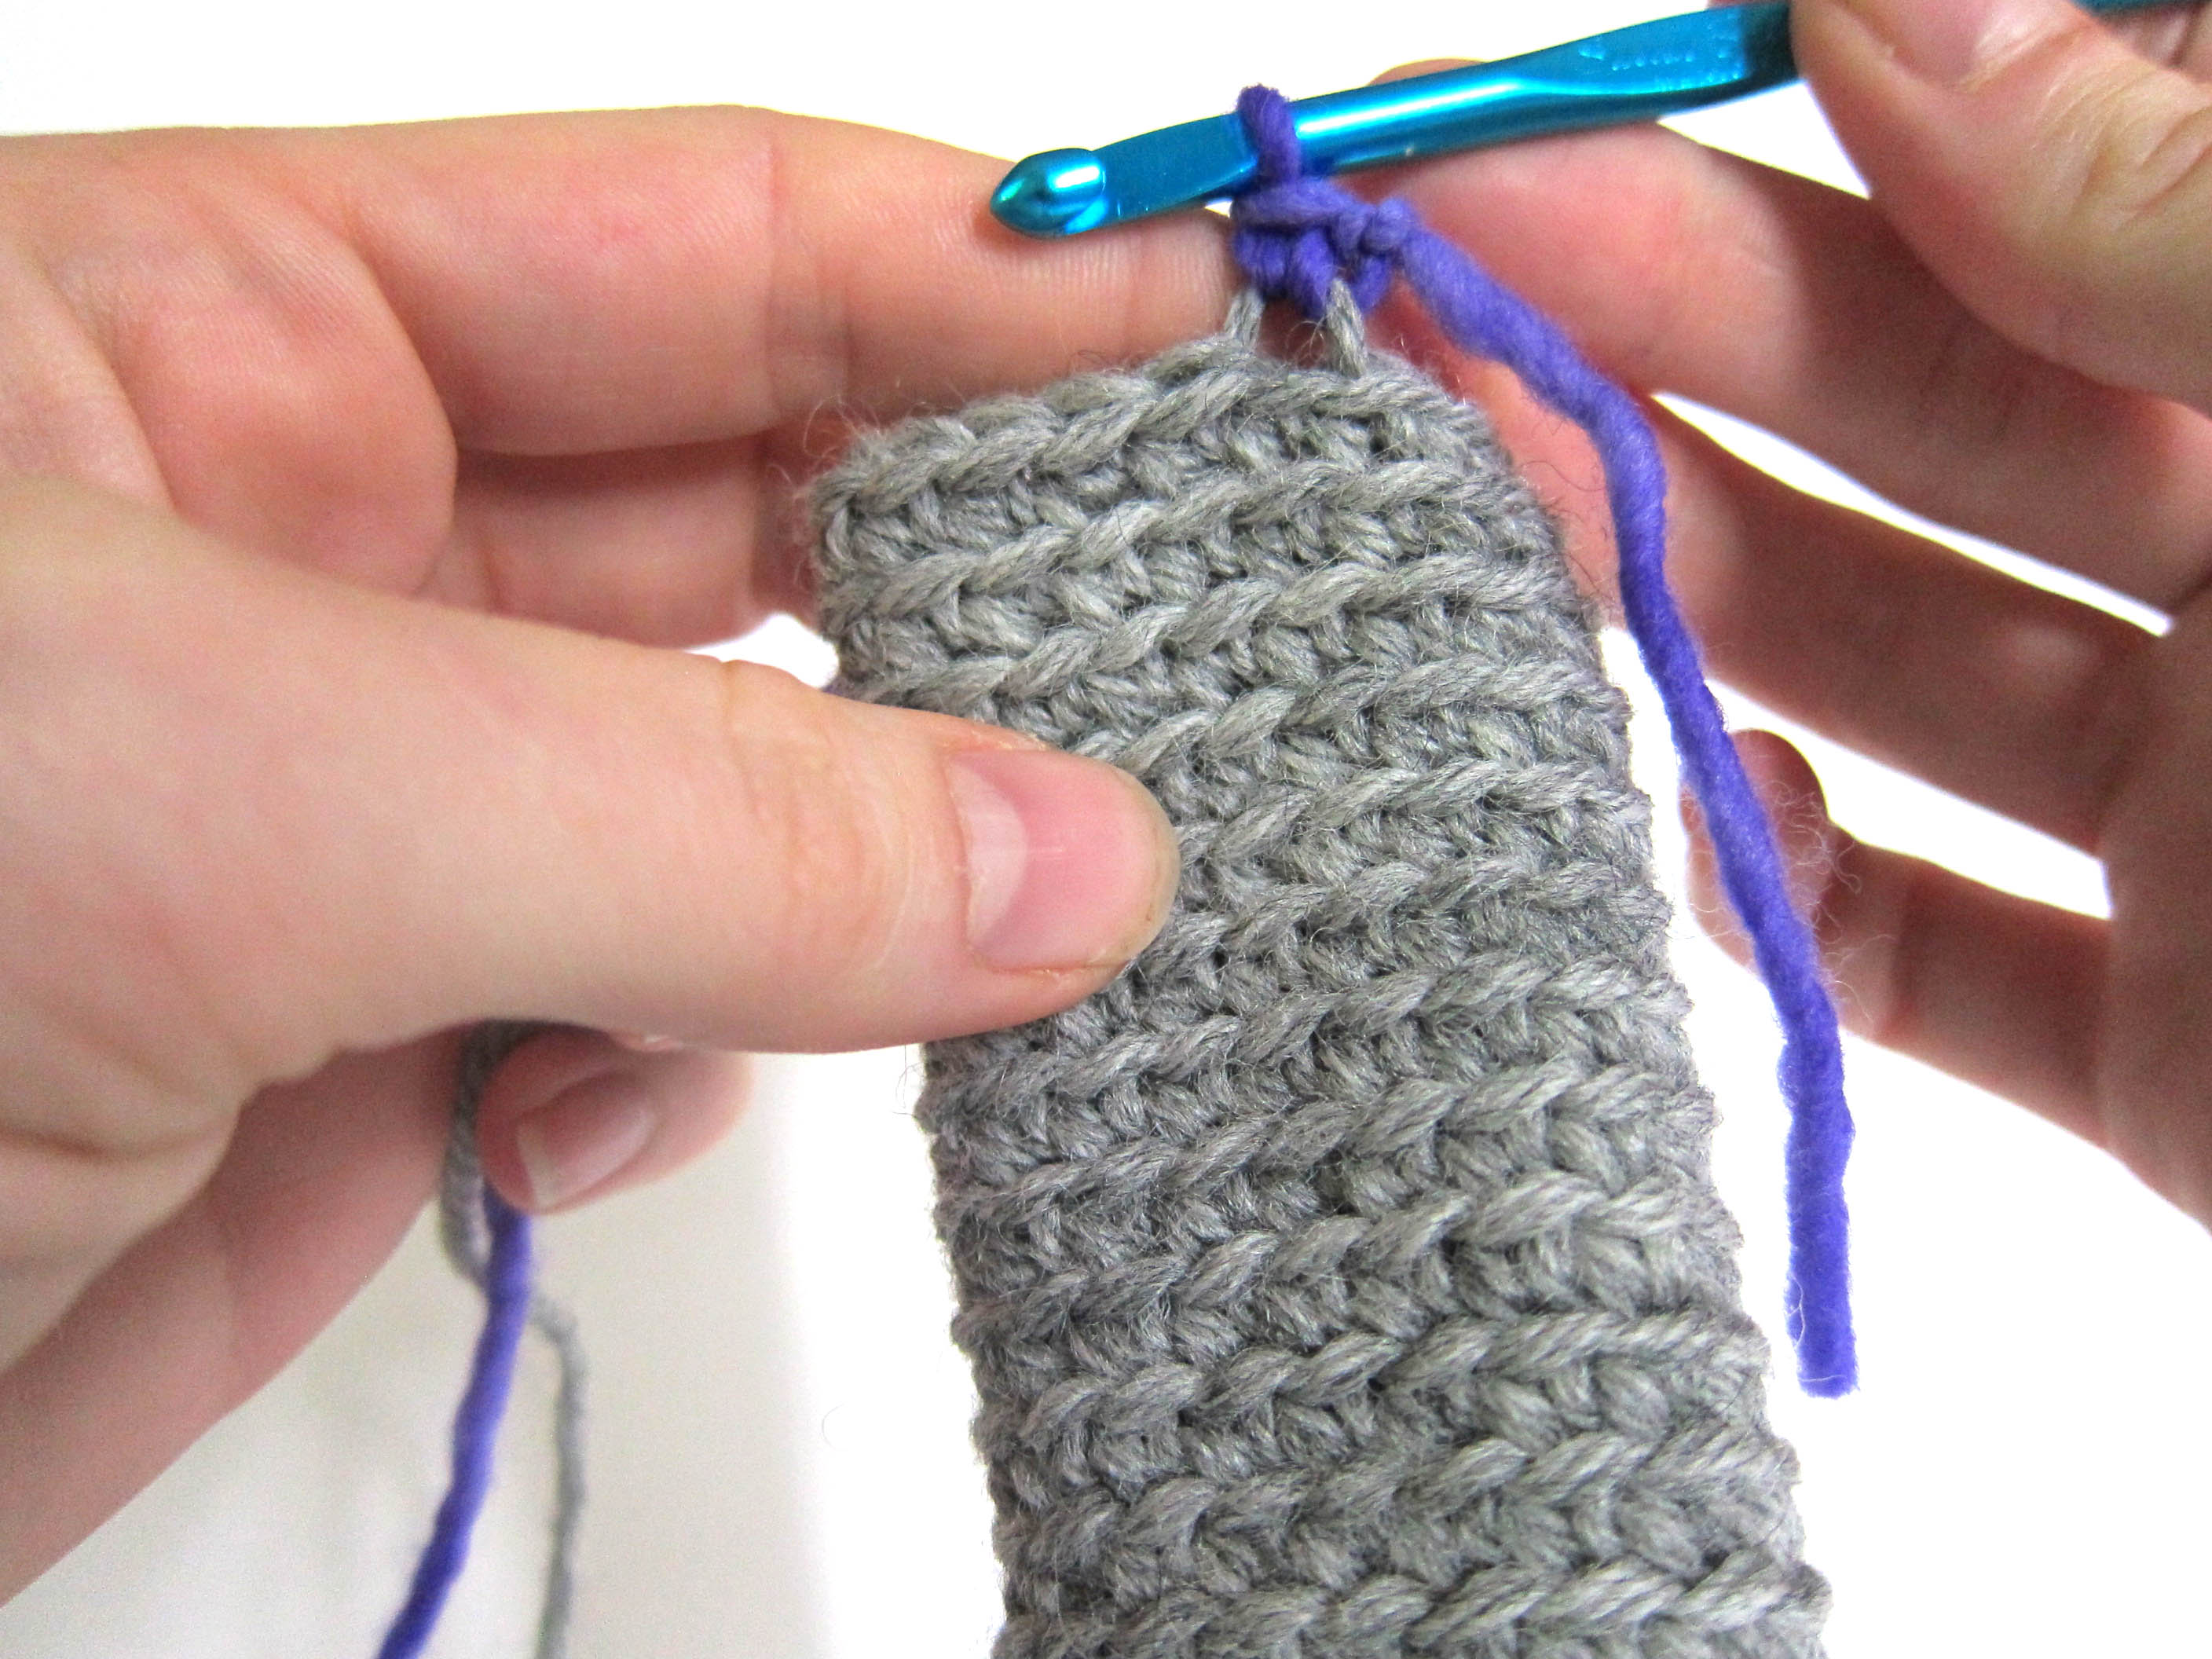
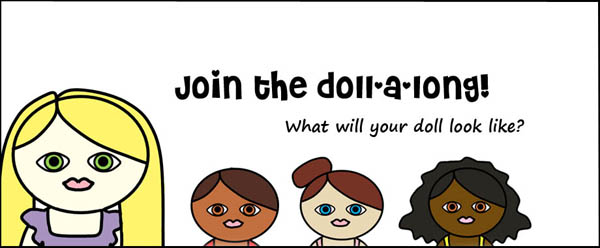
We’re in the final stretches of the doll-a-long… have you added hair to your doll yet?

I think the hair is one of the most exciting parts because there are so many options! For a general how-to for adding hair, check out this blog post.

Let’s chat hair options, shall we?
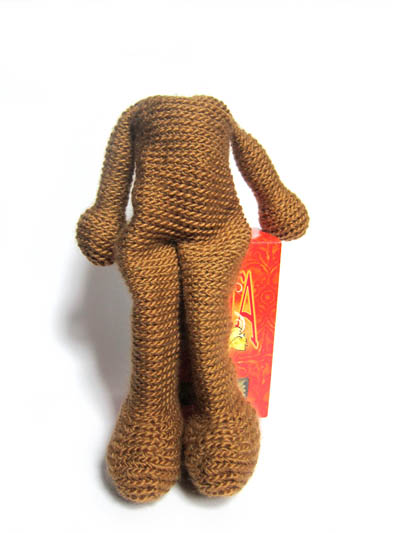
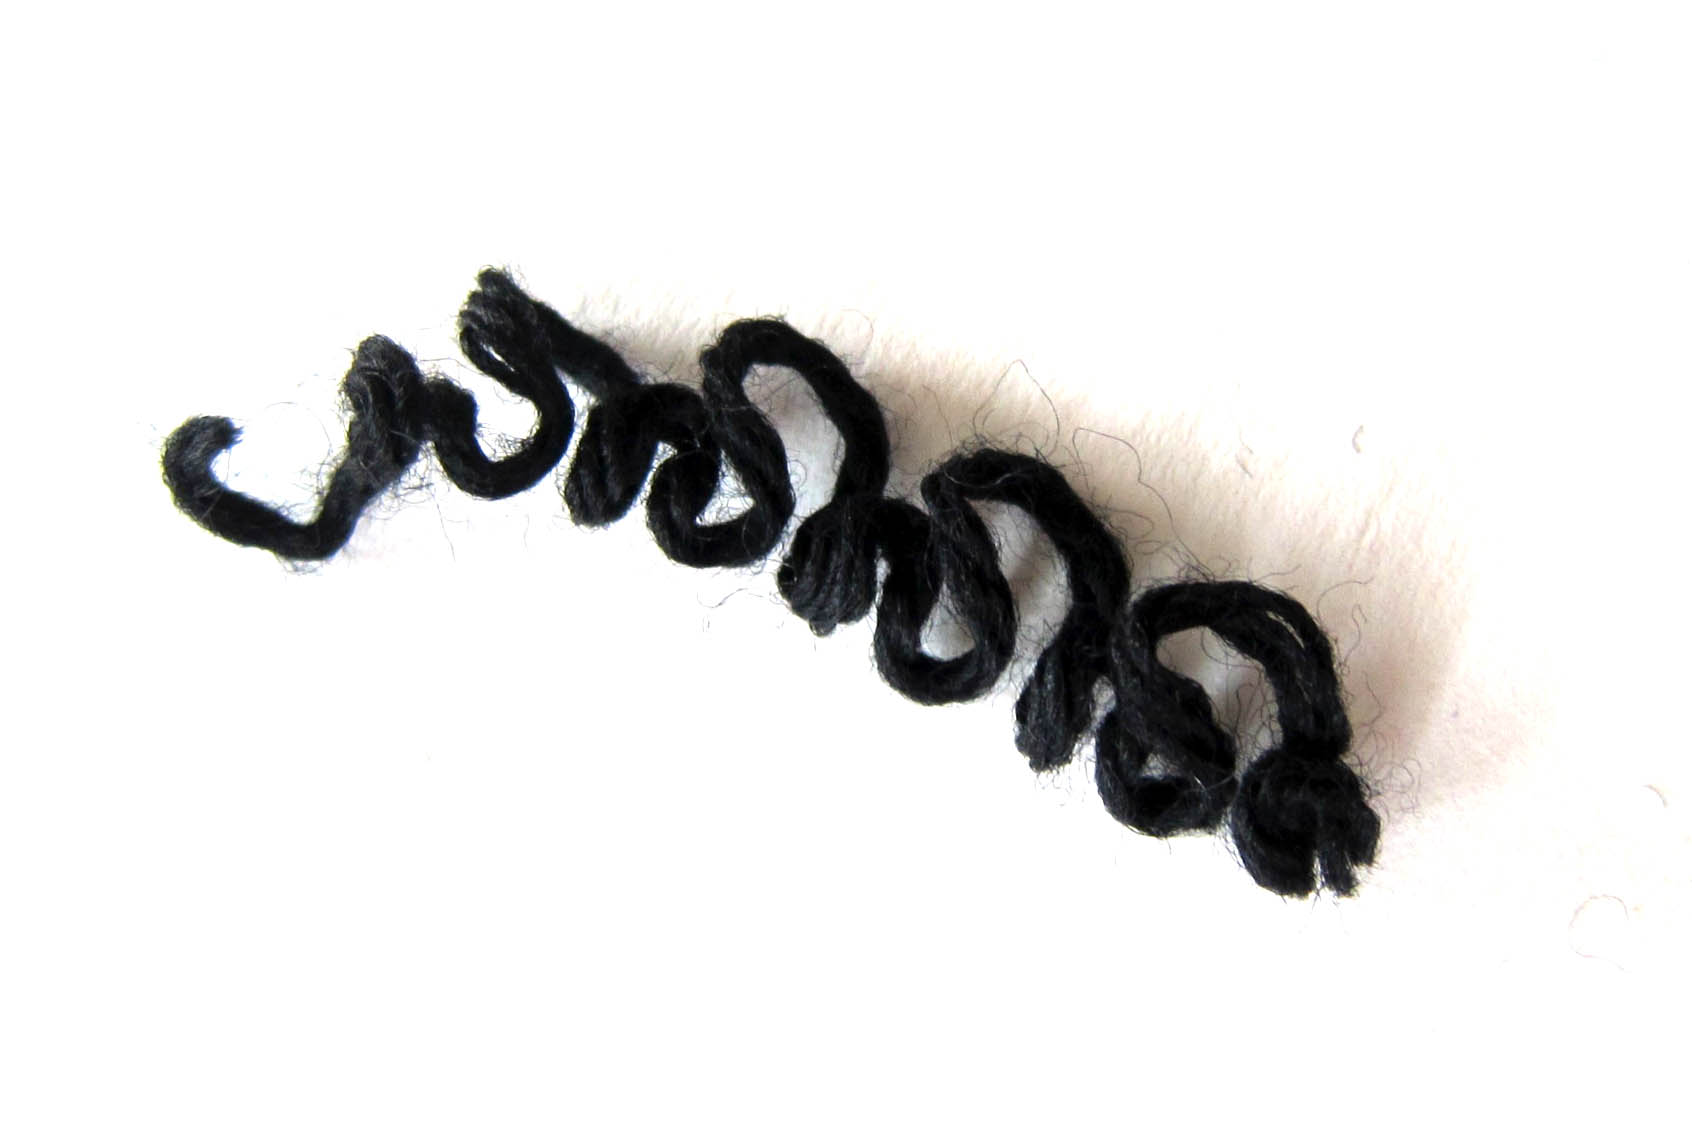
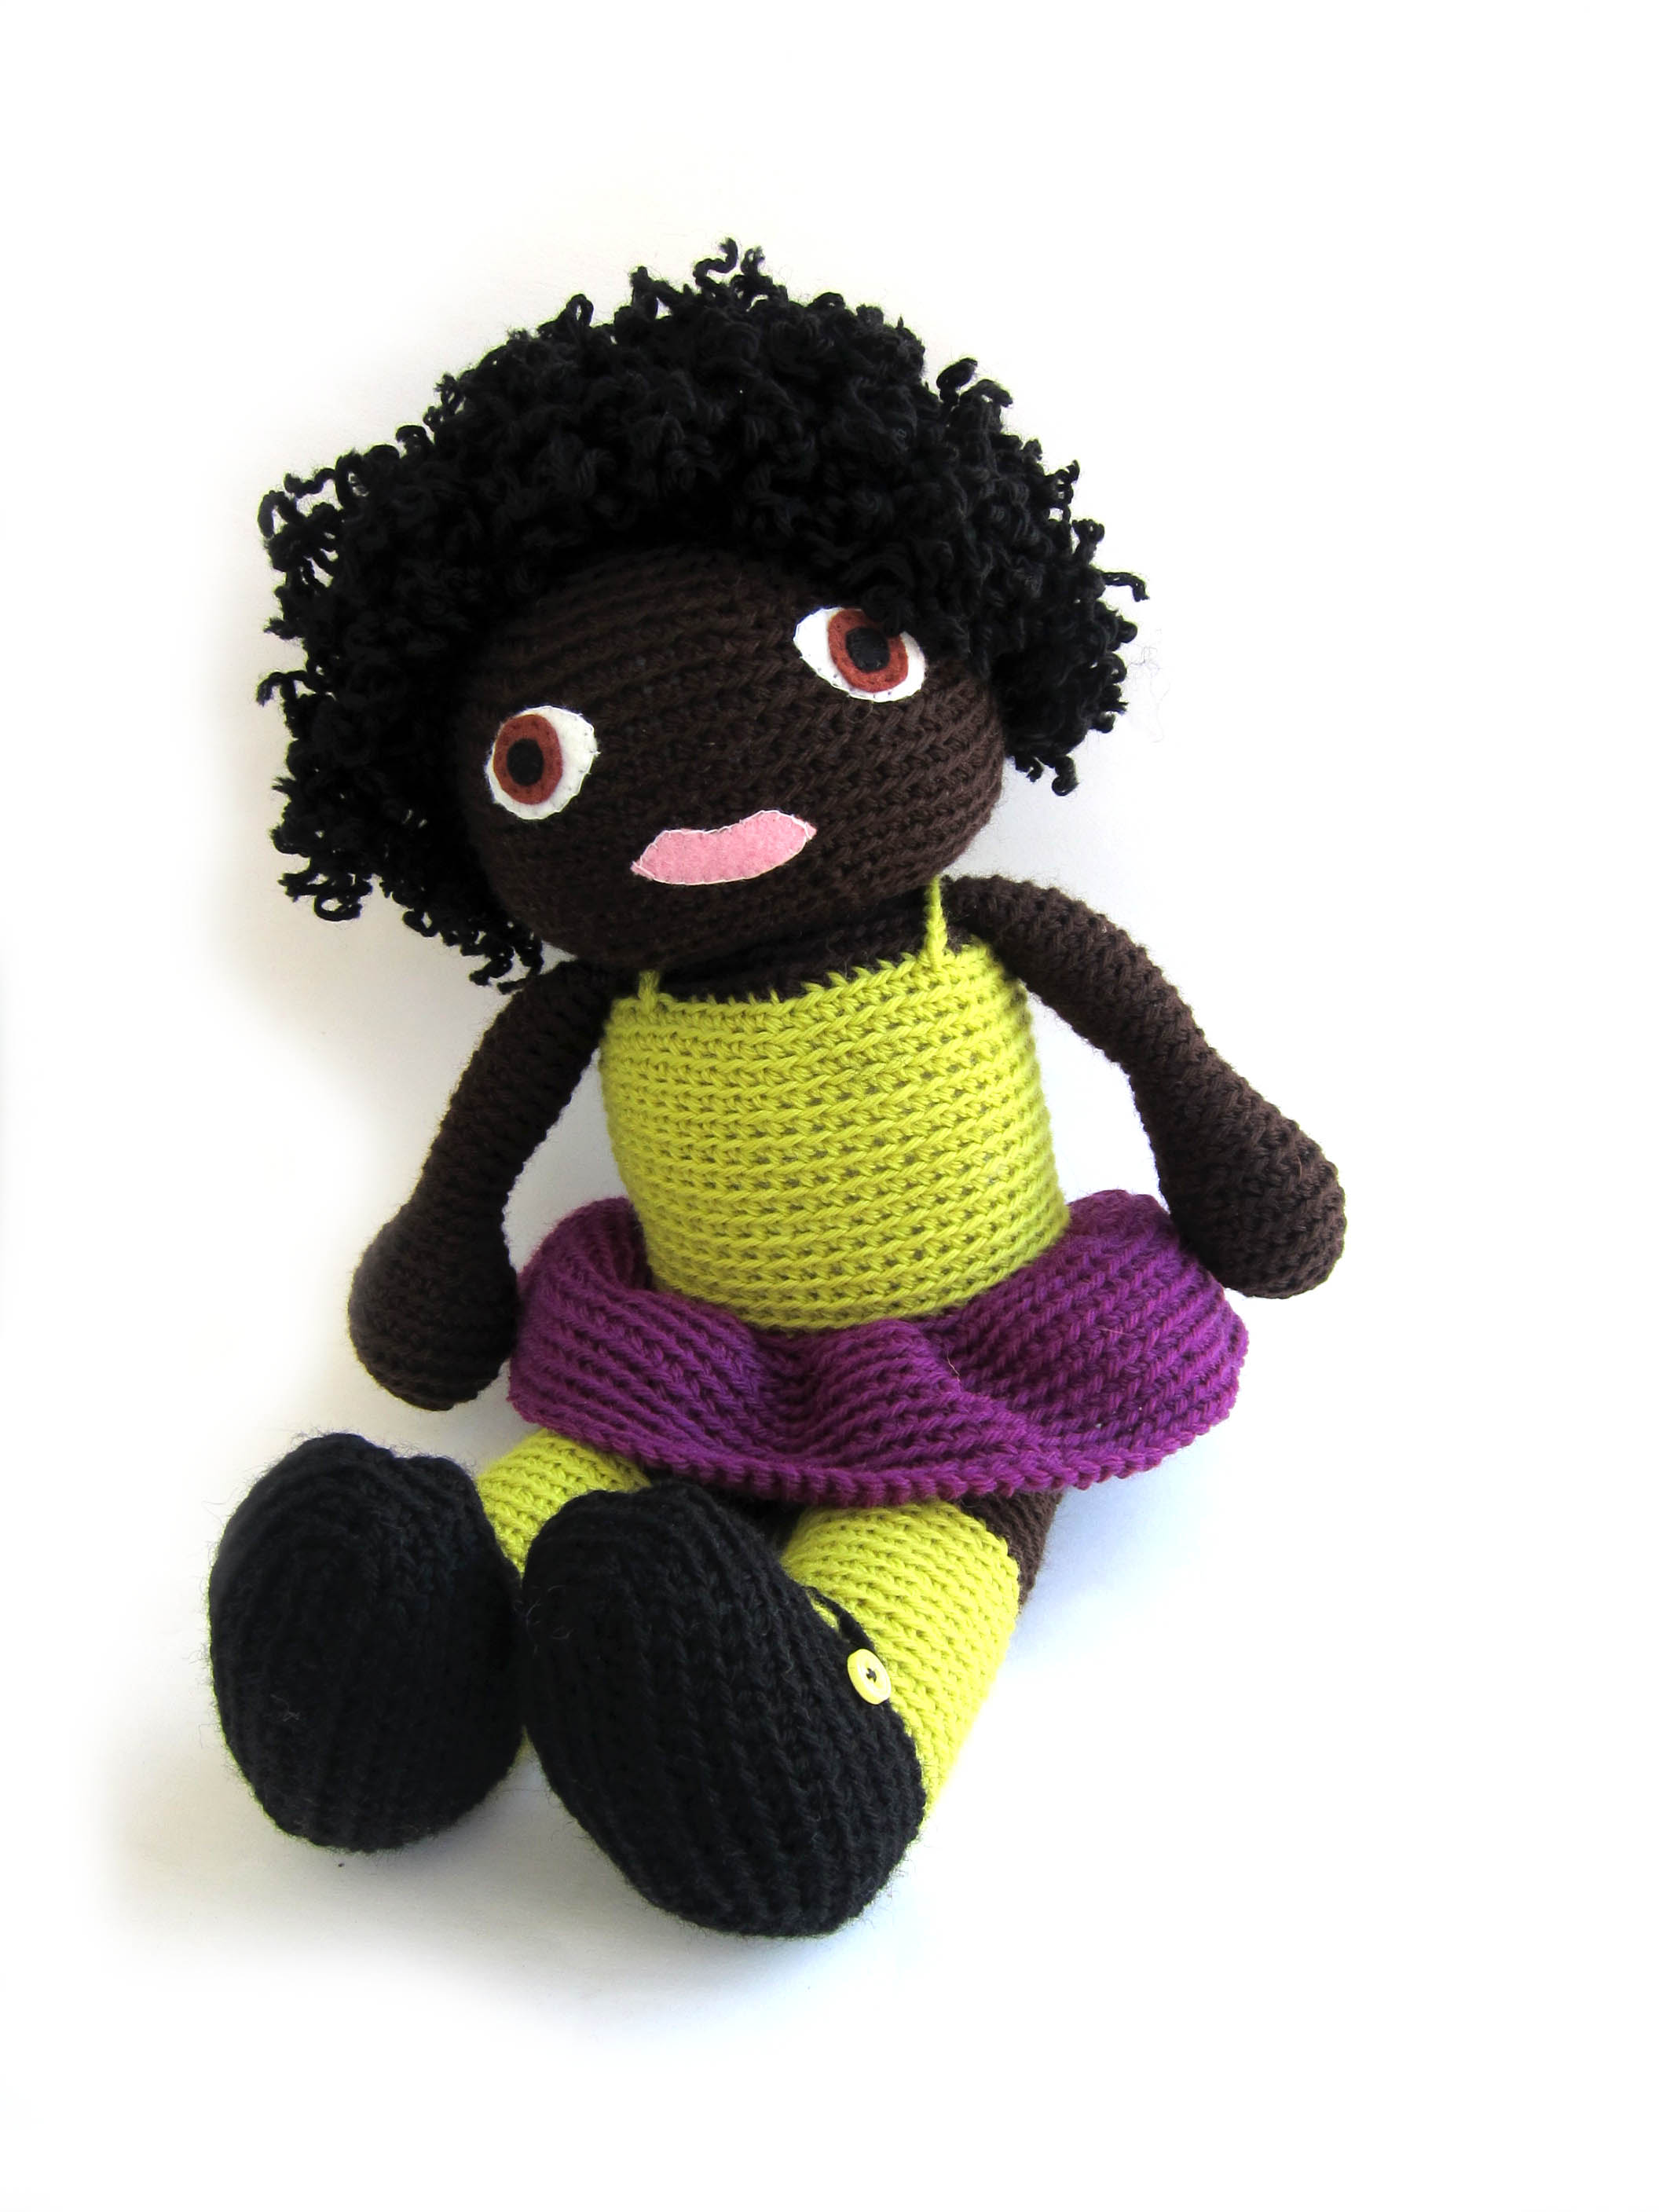
Curly Hair

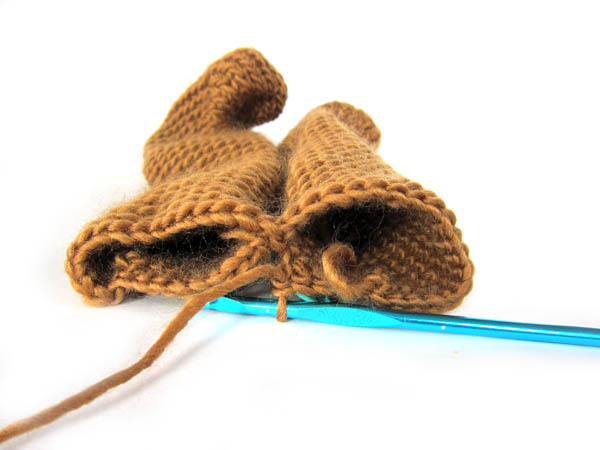
The A Doll Like Me ebook contains instructions for making curly hair:

curly hair doll

Here are a few more tips for working with curly hair for your doll:

  • Keep in mind that if hair is curly, it will appear shorter than if it were straight (due to the curl). You might want to cut longer strands of hair to compensate.
  • The curls are obtained by blocking the yarn into place. Yarns that don’t block well (like acrylic) may not end up as curly as wool yarn.
  • Since the curls are blocked, they will ‘come out’ if you wash/wet your doll’s hair. If you’re planning on machine-washing your doll, go with straight hair.
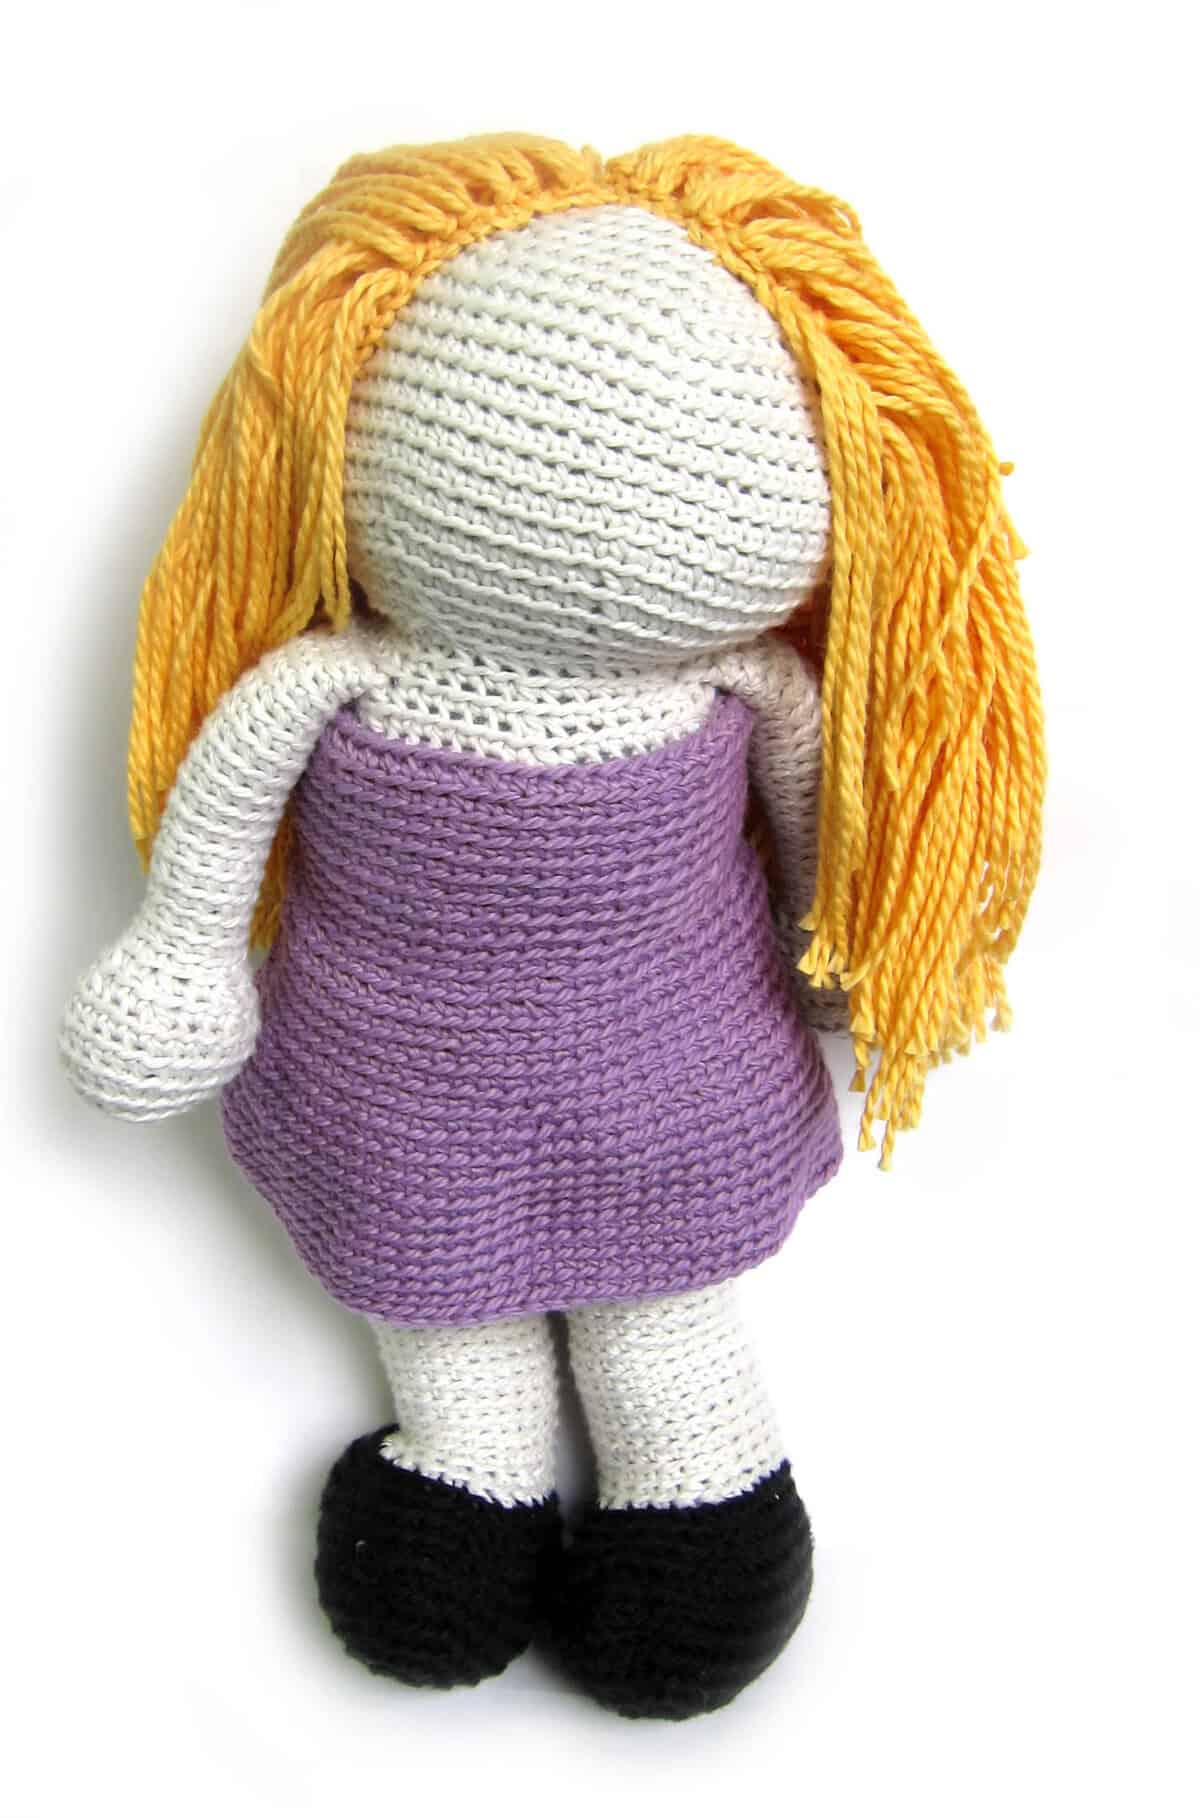
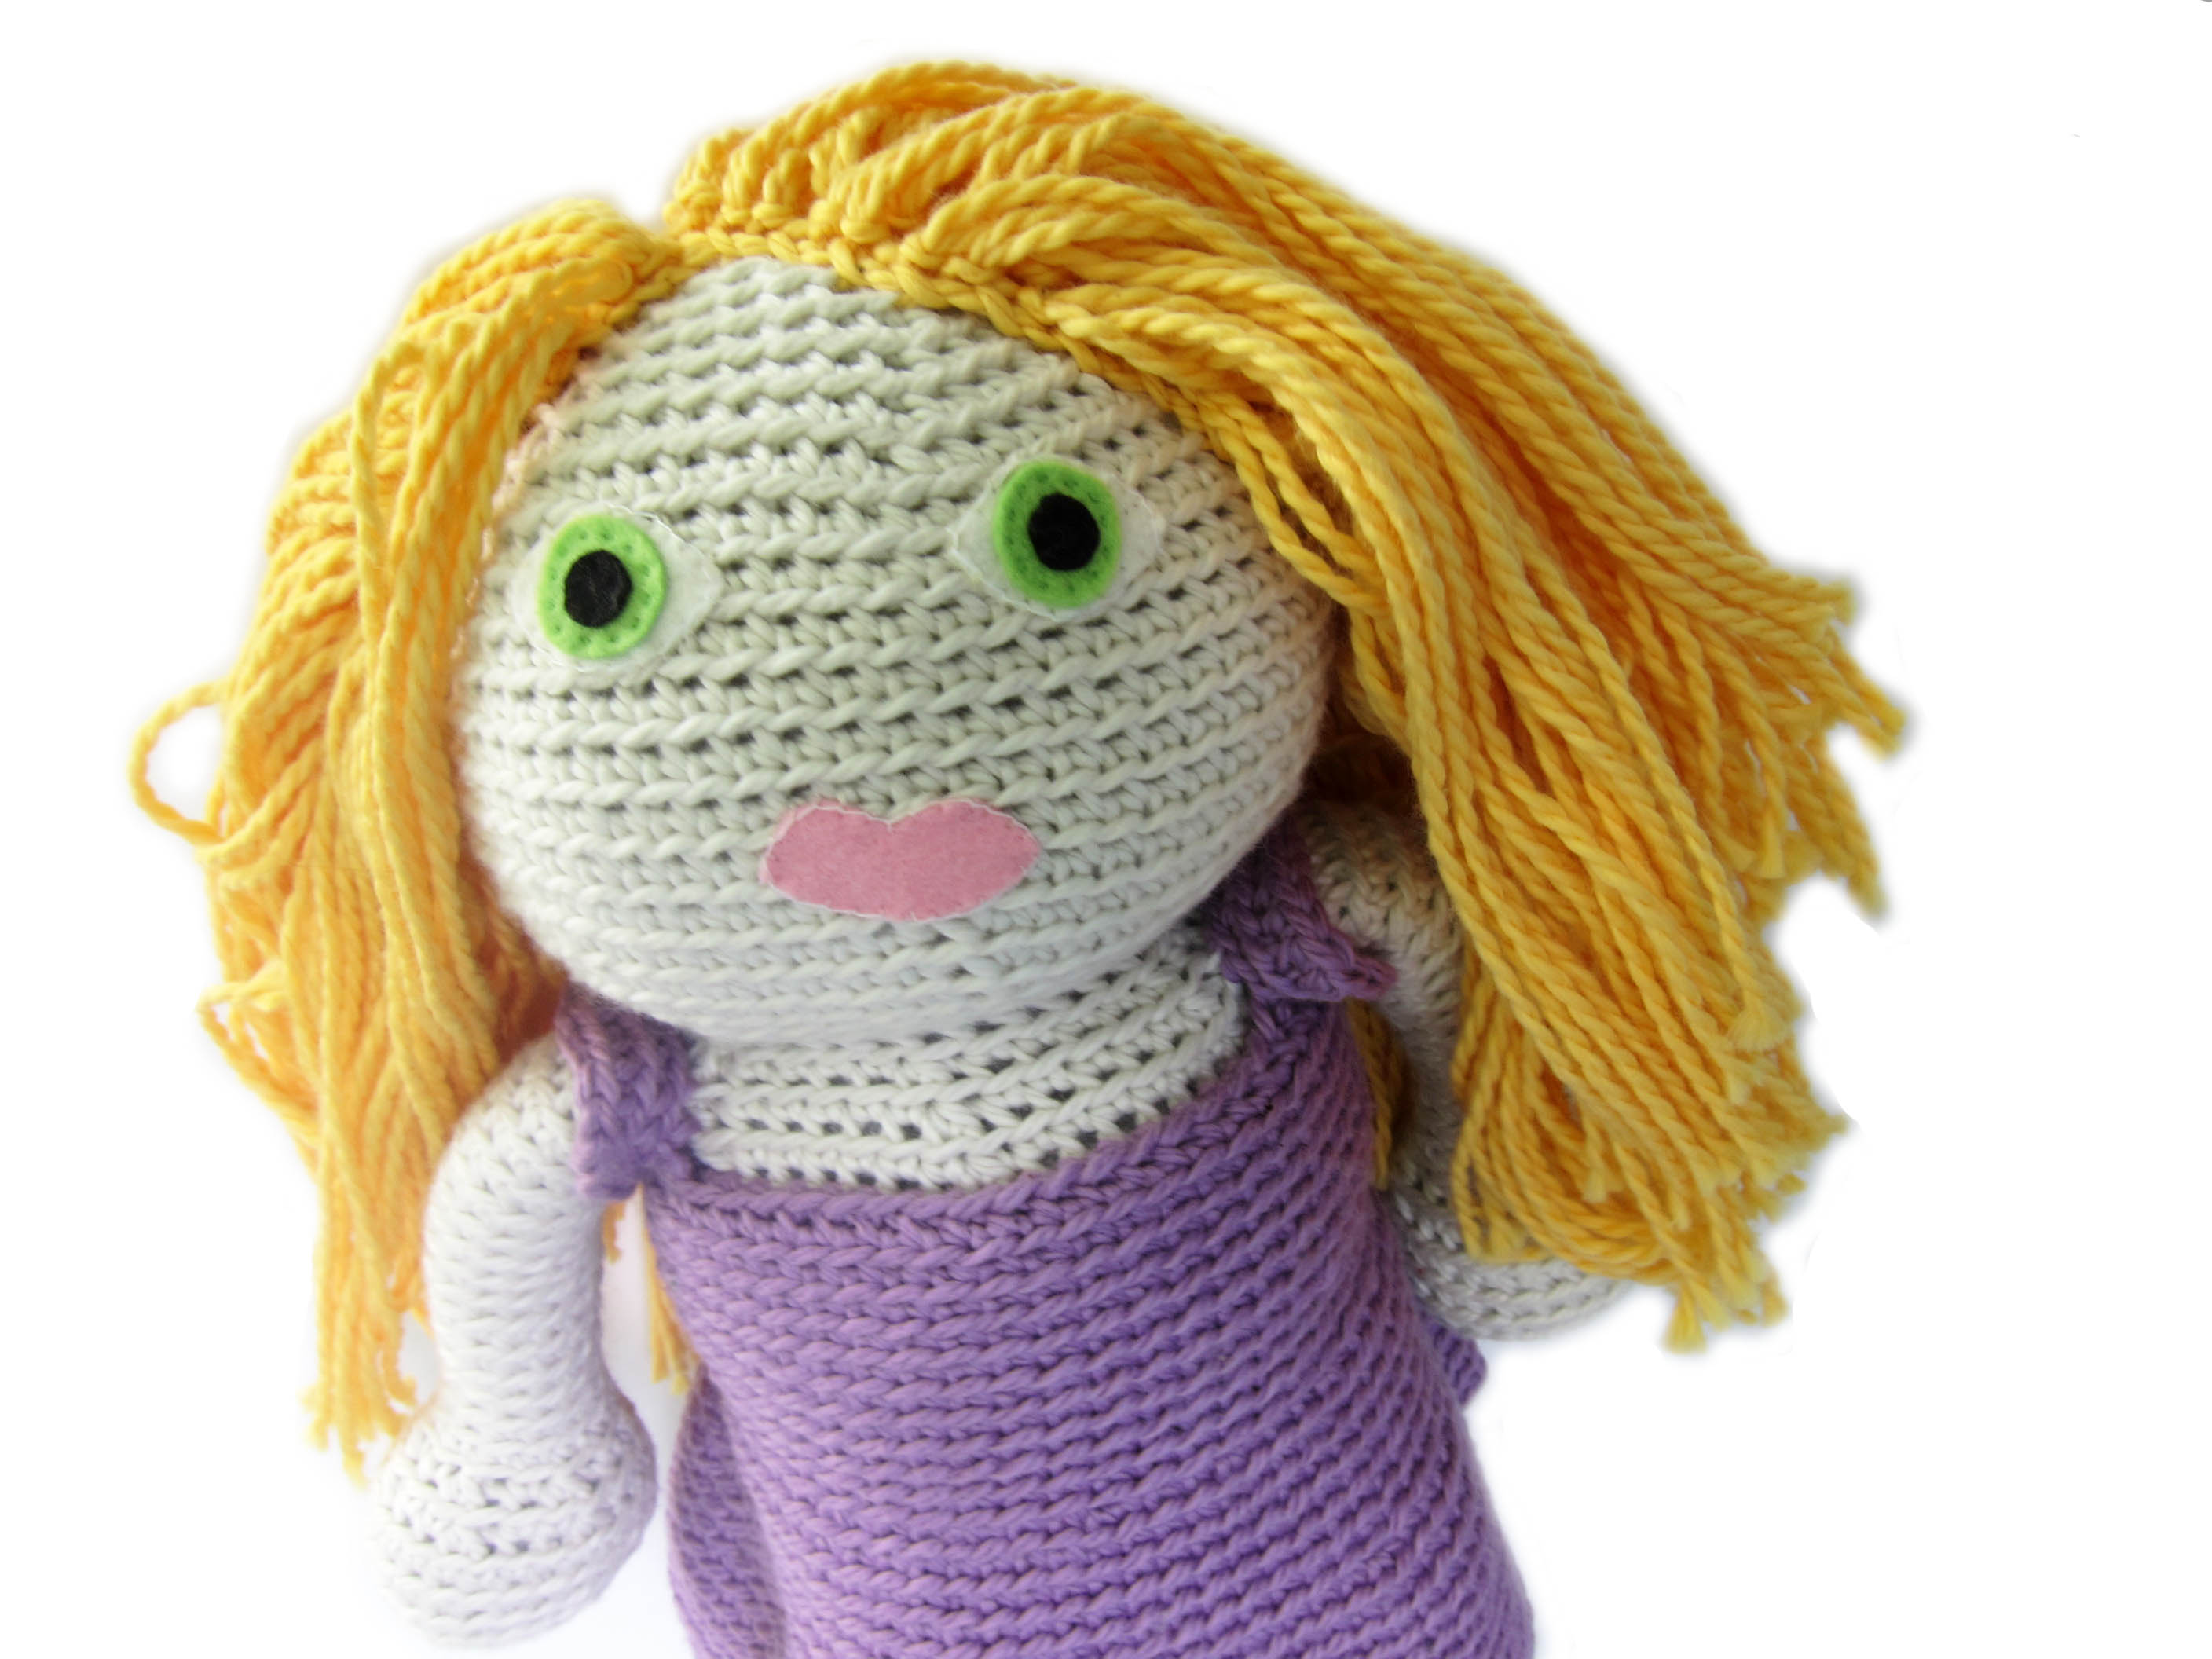
crochet doll pattern curly hair

Straight Hair

Straight hair can be any length or style! Here are some fun suggestions/tips:

  • If you’d like to add bangs, simply cut some shorter strands and attach at the front of the head.
  • For highlights, cut yarn in a few coordinating colors of yarn.
  • For a bob hairstyle, attach the yarn, and then trim along the bottom so all of the hairs end at the same length.
  • Try putting hair in braids or pigtails!

Which style are you choosing?

The doll-a-long runs until Thursday… still plenty of time to finish yours! Tell me, which hairstyle does your doll have?

How to sew on a button

doll crochet a long

Sewing on a button is a super-cute (and easy) decoration that you can add to your doll.

button sewn on crochet bootie

Check out this adorable button on Mia‘s shoe!
Attaching a button isn’t hard!

Types of buttons

Buttons come in all different shapes and sizes…

types of buttons

You can even find shaped buttons (like a little duck or fruits)! Use your imagination about which button would make your doll shine!

Start your thread

I begin by attaching my thread to the button. If you’re unfamiliar with sewing, watch the video in my blanket stitch tutorial to see how to get started. Instead of sewing on felt eyes (as shown in the tutorial), you’re sewing on a button!

Sew a nice pattern

How you place your stitches depends on the type of button you have. Check out my suggested stitch patterns (shown in brown thread):

how to sew on a button

Once you’ve finished firmly attaching the button, tie a knot! Ta da!

Where will you add buttons?

They’d be cute on shoes, on dress straps or even as hem decorations! Go crazy!

Happy Father’s Day!

In the crafting world, moms get a lot of credit. They’re usually the ones to pass down the actual skill of sewing, crocheting or knitting.

I think, especially on Father’s Day, it’s important to reflect on the skills that fathers pass on to their children. Even though the men in my life didn’t teach me any craft skills, they instilled in me a do-it-yourself (and entrepreneurial) spirit, and passed on the value of quality workmanship.

Read my tribute (written last year) to the great guys I have!

And give your dad a hug!

Best,
Stacey

Tips for attaching a dress to your doll

Tips for Attaching a Dress to Your Crochet Doll - from FreshStitches and Shiny Happy World

How’s your doll coming along?

doll crochet a long

I’ve been seeing some fabulous works-in-progress and finished dolls in the Ravelry Doll-a-long thread… have I seen yours?

Today, I’m going to share some tips for crocheting on the dress/skirt/tutu for your doll!

Tip 1: Start without a head

The dress can be added after your doll has been stuffed and assembled, and many people prefer doing this because they can ‘envision’ what clothing will look best.

However, it’s actually easiest to crochet clothing on before the doll has been stuffed.

Legs of a doll, body

In doing it this way, you can crochet on the dress (and easily maneuver the body) without the bulk of stuffing or the head getting in the way.

Tip 2: Join the new yarn with a sc, in the back

Okay, so this ‘tip’ is written in the pattern, but I thought it was worth repeating!

It may look like the doll’s body doesn’t have a front/back… but take a look at the feet! The toes point forward to the front!

Attach your new yarn with a sc, at the center back of the body. This way, any jog in the rounds will be hidden at the back.

Tip 3: Hold your doll upside down

When attaching the dress, you want the right side of the dress fabric to face outwards.

This means holding the doll ‘upside down’ (head towards you, feet away) when you attach your new yarn.

attaching a dress to a doll

Notice how the right side of the dress is now facing outwards? That’s important! It will continue to do so as you crochet:

outline2

Tip 4: Weave in that end!

When you finish the dress/skirt, you’ll have an end that needs to be woven in. Whip out your tapestry needle, and zig-zag it through the wrong side of the fabric!

How’s your dress coming?

Well… if you’re doing one of the girls, that is! I know a number of you are crocheting Ethan, so you don’t need a skirt… but the same tips apply to attaching the sleeves!

Here’s how my Avery looks:

She’s almost done! Now to make choices about her eye color…

Want to make your own doll? Get the pattern here.

Here are handy links to all the posts about attaching parts. . .

Return to the main table of contents for Let’s Learn to Crochet Amigurumi.

Move on to the lessons about faces and details.

Happy stitching!

How to ‘attach with a single crochet’

How to Attach a New Piece of Yarn with Single Crochet - a tutorial from FreshStitches and Shiny Happy World

Occasionally, in a pattern, you’ll read the instruction ‘attach with a sc’. What does this mean? I’ll tell you!

Attach with a single crochet

This technique is used to attach a new yarn to an existing crocheted work. It’s used in the doll patterns to attach a piece of clothing like a dress or a sleeve. You might also use it to attach a foot to a slug, prickles to a hedgehog, a mane to a lion, and more.

Here’s how to do it. Begin with a slipknot on your hook:

how to attach a yarn with a sc

Now, just pretend this loop is any ol’ loop! Insert your hook into the indicated stitch on your crocheted fabric:

How to attach with a sc

And then crochet as instructed!

attach with a sc

Hooray!

Here are handy links to all the posts about attaching parts. . .

Return to the main table of contents for Let’s Learn to Crochet Amigurumi.

Move on to the lessons about faces and details.

Happy stitching!

Tips for aligning your doll’s legs

Are you crocheting along with us for the doll-a-long?

doll crochet a long

If so, hooray! What part are you up to? Today I’m going to show you some tips for aligning and crocheting together your doll’s legs!

Not crocheting along? It’s not too late to join in! Grab a copy of the pattern and start crocheting!

How to align the legs

Once you’ve crocheted your legs, you’re going to crochet them together to continue her body. This method of construction is great… since it lets you skip doing any sewing! But it may be new to some of you, so don’t worry if it feels a little confusing.

You want your doll’s toes to be straight and facing forward, right?

Amigurumi crochet doll body

So, once you’ve crocheted your two legs, hold them together so that the toes face in the same direction:

how to align doll legs

Now, here’s the trick! Use a locking stitch marker to pin the legs together in the position you want them:

locking stitch marker

How to crochet the legs together

For details on the crocheting, you’ll want to check out this video.

crocheting legs for doll

Keep going!

Hooray! In my opinion, you’ve just finished the trickiest part of the whole pattern! (Well, besides picking the clothing colors… that’s a real pickle!)

Keep going, and don’t forget to share your progress in our Ravelry Group or on Facebook!

Best,
Stacey