


Every once in a while, you’ll come across instructions that tell you to ‘flatten piece, and attach’. But, what does that mean? Today, I’ll show you step-by-step!
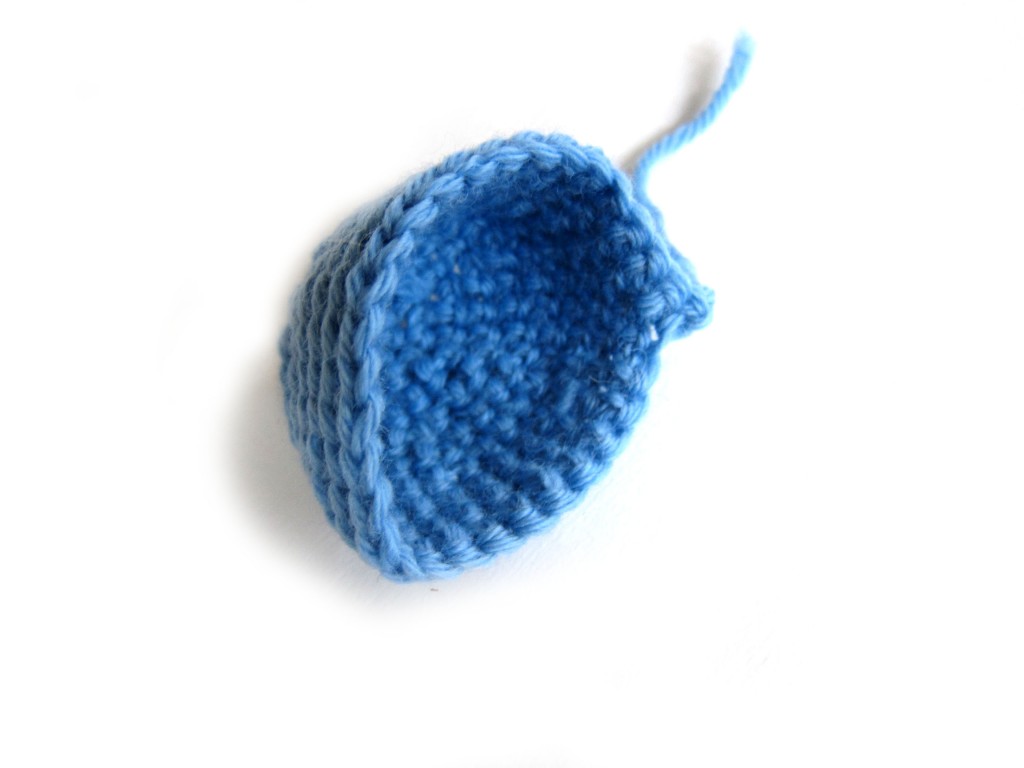
Let’s assume we’ve followed the crochet instructions, and we have a piece (that’s been worked in the round), and we’ve fastened off. The piece will look something like this one:
Now, we need to carry out the instruction ‘flatten piece’. It’s easy! Simply squish the piece closed, leaving your long tail on one side.
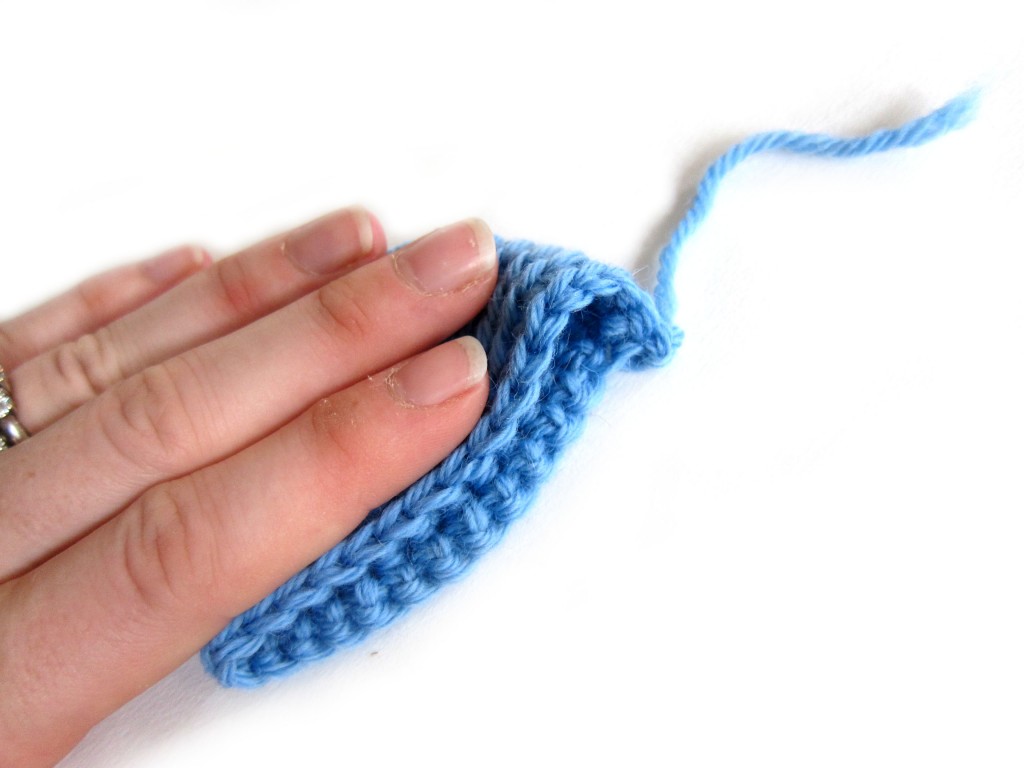
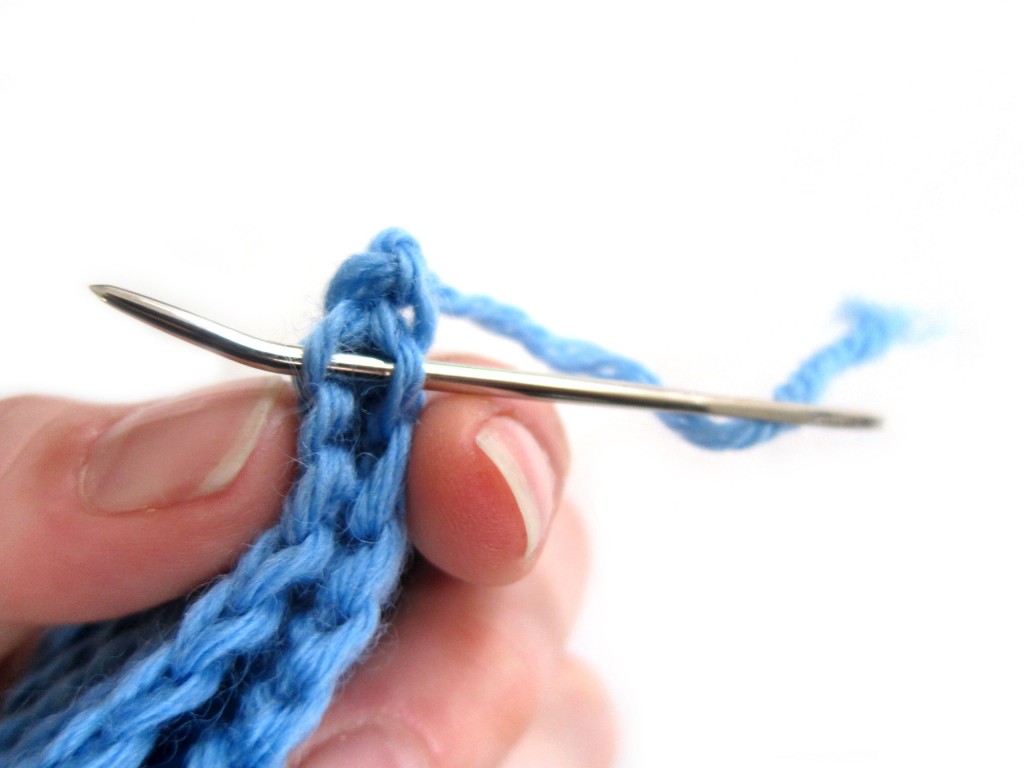
Thread the long tail of your piece onto a tapestry needle (mine is shorter than usual for photo purposes!).
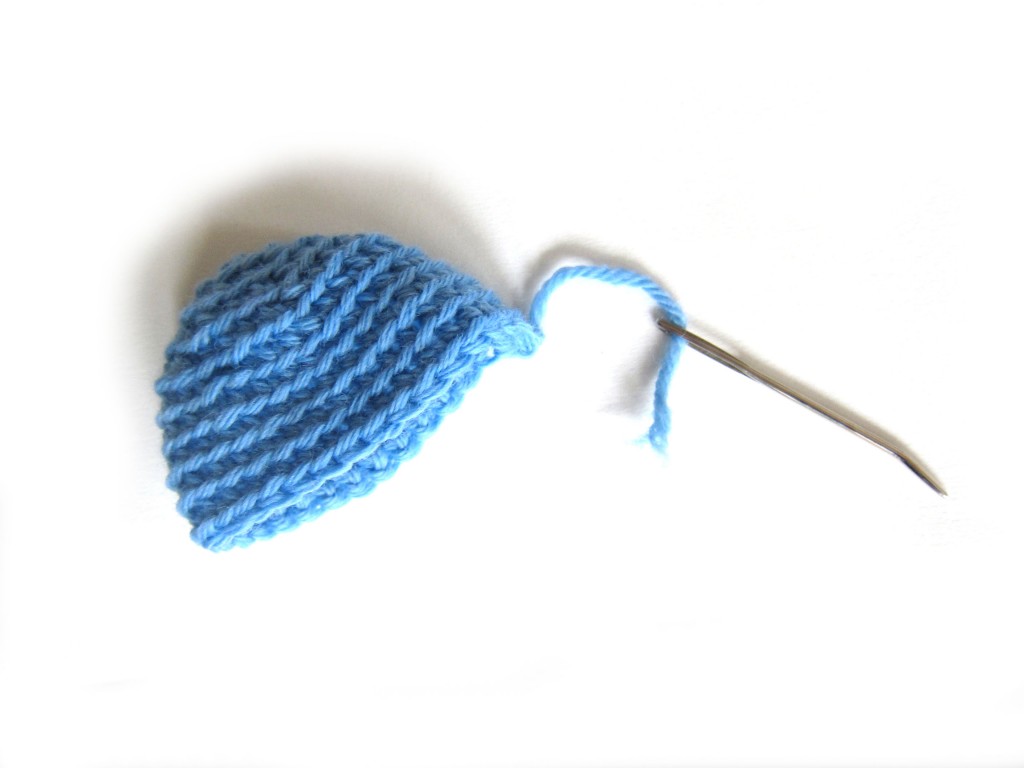
Now, we need to do the ‘attach piece’ part. To attach a flattened piece, the key is that you want to go through both layers of your flattened piece.
Run your tapestry needle through both layers of your piece, then through one stitch on your background work (just like you usually attach):
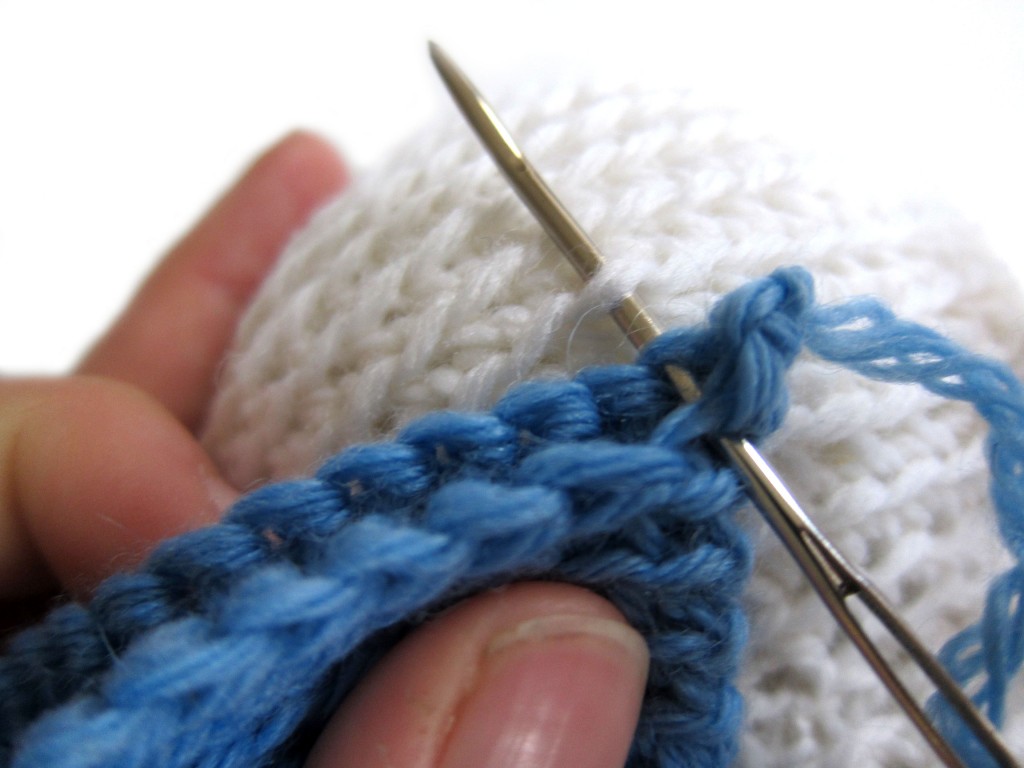
Now, just repeat this last step, until you’ve attached your entire piece! Yay!

Here are handy links to all the posts about attaching parts. . .
- How to Attach Limbs to Amigurumi
- How to Attach Amigurumi Arms and Legs with Single Crochet
- Tips for Attaching Amigurumi Features
- Which Loop Do You Use When Attaching Pieces?
- How to Attach Nicely Rounded Amigurumi Pieces
- How to Give Your Amigurumi a Shapely Neck
- How to Attach a Flattened Piece to Amigurumi
- How to Attach a Folded Ear to Amigurumi
- How to Attach a Folded Ear to Two Rounds
- How to Attach Flat Spots Using Running Stitch
- How to Attach with Single Crochet
- Tips for Attaching a Dress to Your Doll
Return to the main table of contents for Let’s Learn to Crochet Amigurumi.
Move on to the lessons about faces and details.
Happy stitching!

OK dumb question.
Do you go back and forth between the piece and the body (like in a zigzag) or more like a circle where you would bring the needle back through in the same direction as the first stitch? Does that question make any sense?
Put another way. In the pic above, the needle is moving from right to left through the pieces. Would the next stitch go the same way or travel back from left to right?
Geesh, clear as mud.
Oh, that’s not a dumb question!
I go in a circle (so, the needle is always moving through the stitches right to left), but I think that’s just personal preference. I don’t think anything would go wrong if you did a zig-zag… I just find the circle easiest!
Pingback: Link Love for Best Crochet Patterns, Ideas and News |
What do I do once I get to the end? So the piece is sewn onto my piece, how do I tie it off?
There’s a tutorial showing how to tie a knot here. https://www.shinyhappyworld.com/2012/03/how-to-tie-a-knot-in-amigurumi-croche.html